My Raggedy Ann Doll Tutorial (Part 2)

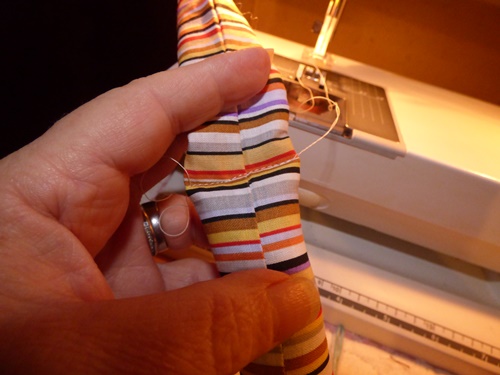
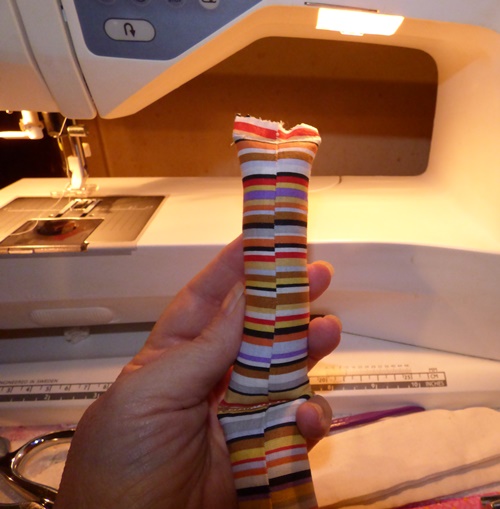
Now it is time to begin stuffing our doll parts. Open up your bag of fiberfill and grab you hemostats. Let’s start with the legs. Fill up the leg about half way. This is where your “knee” joint is going to be. Align your seams and sew across this area. Make sure your knee joint bends perpendicular to your foot….wouldn’t want a wonky bend in the leg.

mrp 19

mrp 20

Fill up the rest of the leg leaving about 1/4 inch at the top. Sew the top closed using a 1/4 inch seam.

mrp 21

Repeat for the second leg. Then set them aside.

mrp 22

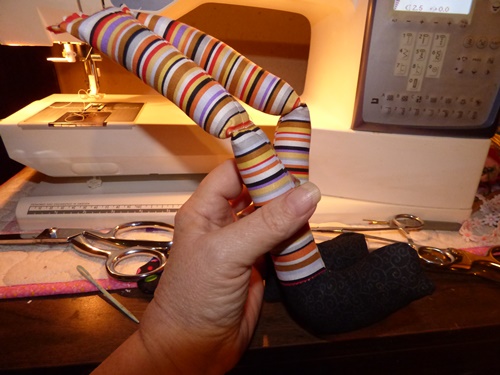
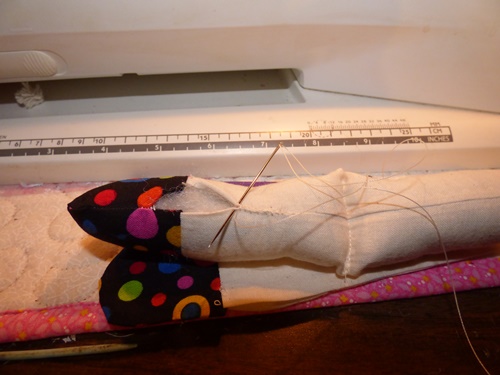
Pick up one of the arms and begin stuffing it firmly, making sure the “thumb” is filled out. Fill up about half way or where you think the “elbow” join should be. Align the seams and sew across this area. Fill up the rest of the arm. Hand sew the opening closed with upholstery thread and microscopic stitches. Repeat for second arm.

mrp 23

mrp 24

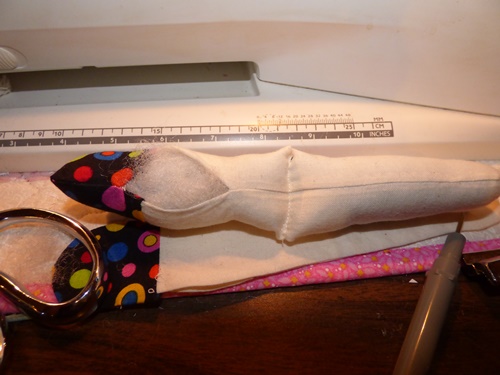
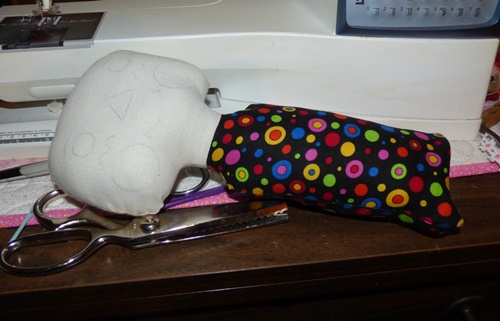
Set the arms aside. Start stuffing the head of the doll. Try to get it firmly stuffed. Insert the dowel, pointed end towards top of head and work it in about 2 inches. Fill around the dowel firmly. This will keep the head from falling over.

Continue stuffing the body of the doll. Make sure you are stuffing the doll firmly. Fold the bottom of the doll in about 1/4 inch. With upholstery thread sew a few stitches in the center crotch area. Do not cut the thread. Make sure that your doll’s body is not twisted. You don’t want the side seams out of kilter to the rest of the doll.

mrp 25

Insert one leg into one of the openings and pin in place. Make sure your foot is pointed in the right direction. You don’t want the face one way and the feet another. That would look just weird.
Sew in place, front and back, with microscopic stitches.

mrp 26

Repeat for second leg.

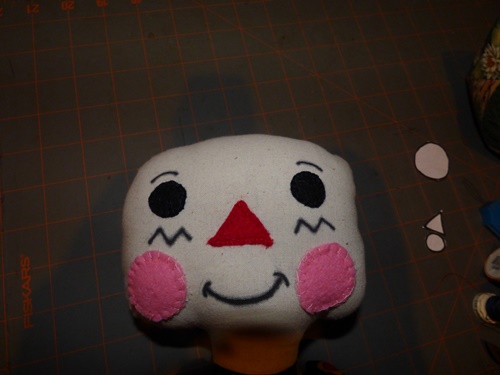
Now for the face. Using matching thread, hand sew your eyes, nose and cheeks to the doll. I used a blanket stitch, but you can use whatever stitch you prefer. Then using a permanent marker, add eyebrows, zigzags and mouth.

mrp 27

Next up we are going to attach the arms. Take your long doll needle and thread with a double strand of upholstery thread. This should be really, really long. You want to be able to pass the needle through the doll several times.

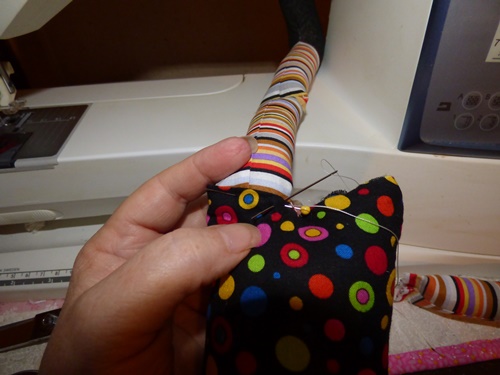
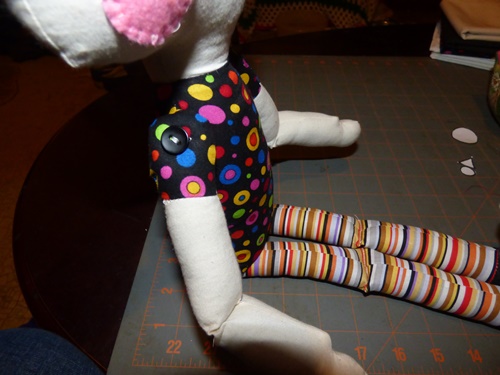
Beginning at one shoulder, pass the needle through to the other shoulder. Check to see if it is even before you pull it completely through. Pass it through one of the doll’s arms, making sure the “thumb” is pointing up. Now pass the needle through a button. Go back through the other hole of the button, through the arm and through the body and exit where the second arm should be. Attach the second arm and button, making sure the two arms look even to you from the front. If they do, pass the needle through the arms and body 1 or 2 more times and secure, making sure you hide your knots. You want this to be snug/tight. Sometimes this is a little difficult, but with patience and perseverance you can do this.

mrp 28

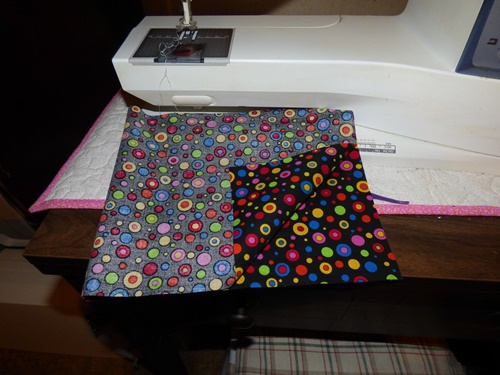
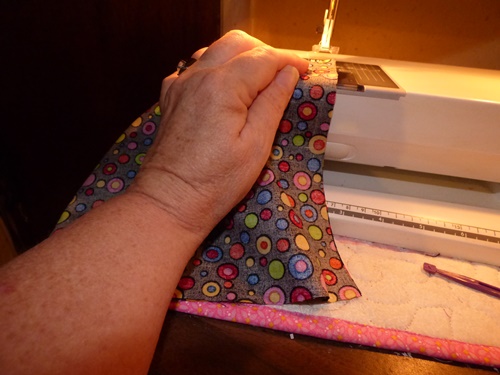
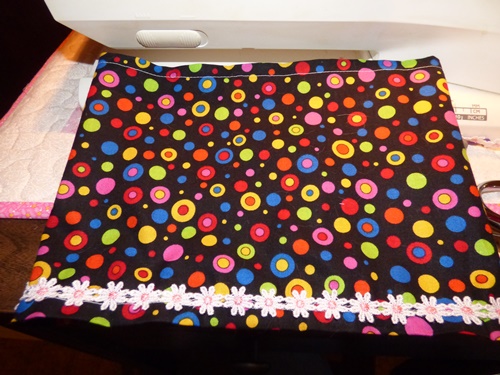
Skirt time! (no, not hair time..that comes later). Take your leftover piece of print fabric. Cut a 1 inch wide strip from the long side. This will be the ties for the hair. Set it aside. Measure and trim your larger piece of fabric. It should measure 8 inches x 20 inches. With right sides together, sew the short sides with 1/4 inch seam, creating a tube. Iron this seam open. Fold over the top and bottoms of the tube about 1/4 inch and iron or finger press. Sew these hems. Add a trim to the bottom of the skirt and sew it on beginning and ending at the back seam.

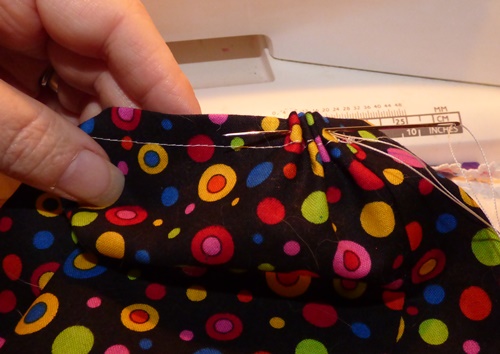
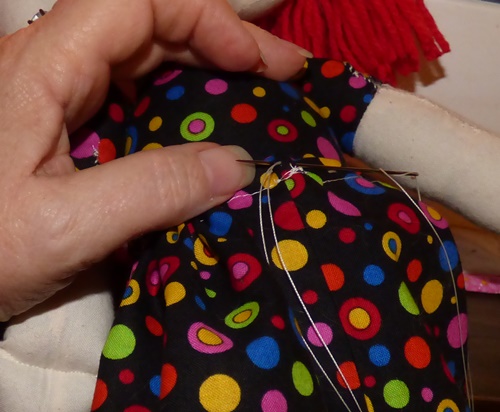
With upholstery thread, do a running stitch at the top of the skirt. Put the skirt on the doll and gather the skirt. Make sure the gathers are evenly spaced. Sew the skit in place.

mrp 33

mrp 34

mrp 35

mrp 36

mrp 37

Now for the hair. You will need a piece of cardboard that is about 11 inches wide. Begin wrapping the yarn around this cardboard, trying to lay the yarn strands next to each other and not so much on top of each other. This does not have to be exact.

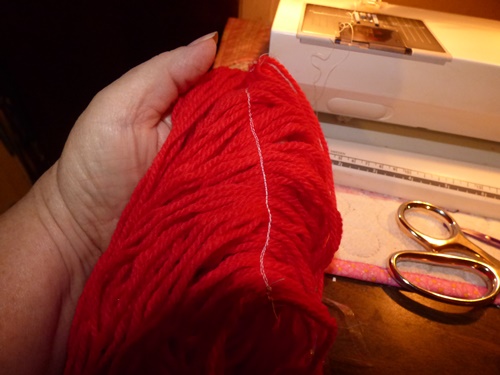
Once you have most of the yarn wrapped on the card board, apply some clear packing tape across it. Press down on the tape several times so that each strand of yarn is stuck to the tape. Carefully remove the yarn from the cardboard. Sew, lengthwise down the center of this tape, using matching thread. (remove tape after) I used white for teaching purposes and later colored it in. Cut other end. The ends will not be even once it is in place, but you are going to trim it later.

Pin in place to doll’s head. Hand sew in place. Cut a few strands in the front for bangs. Bring each side up about to doll’s eye level and secure with a rubber band. Sew a few stitches to secure the pigtail remains where you want it. Repeat for other side.

Take the 1 inch wide strip you cut earlier and cut it in half. Tie one to each pigtail. You tie a knot in each “ribbon”, not a bow. Trim to desired length. Then trim the “hair” to just above her shoulders.

mrp 31

mrp 32

mrp 38

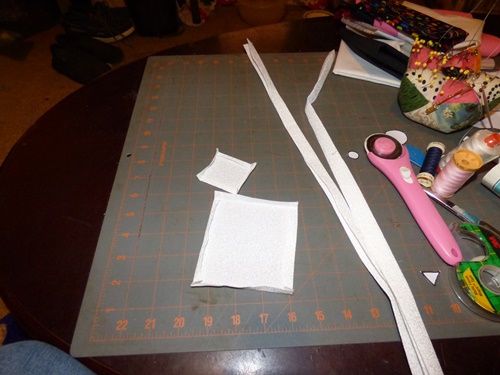
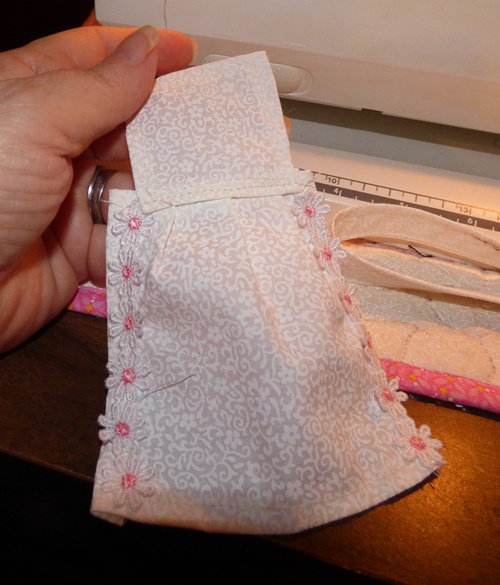
Now for the apron. From the white fat quarter, cut 2 lengthwise strips 2.5 inches wide. From one end of one of those strips cut a 2.5 inch square. Finger press or iron 1/4 inch hem all around. Fold your strips in half lengthwise and iron. Then fold outer edges to the center and iron. When done, your strip will measure about 1/2 inch wide.

Now cut a 4.5 inch square from the remainder of the fat quarter. Finger press or iron 1/4 inch hem all around.

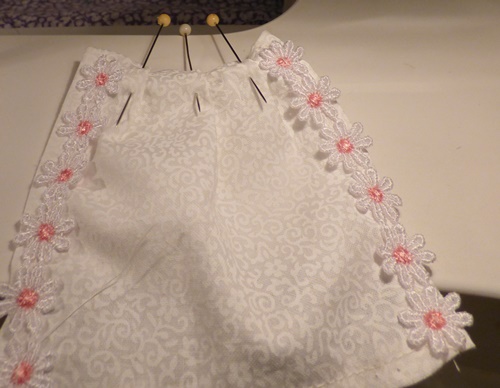
Sew the hems down on all four sides of the 4.5 inch square and the 2.5 inch square. Sew the strips up one side and down the other. Add trim to the square, as pictured, if you desire.

mrp 39

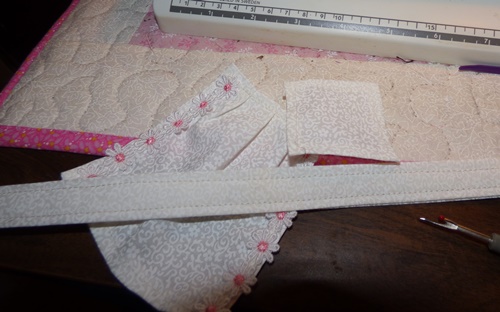
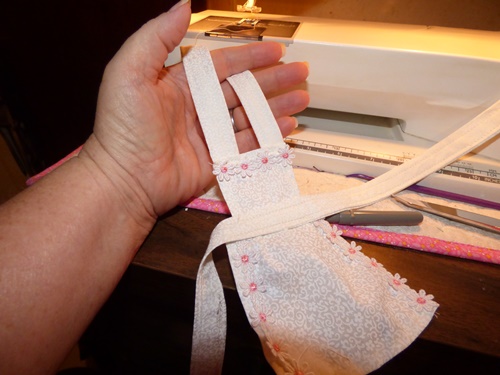
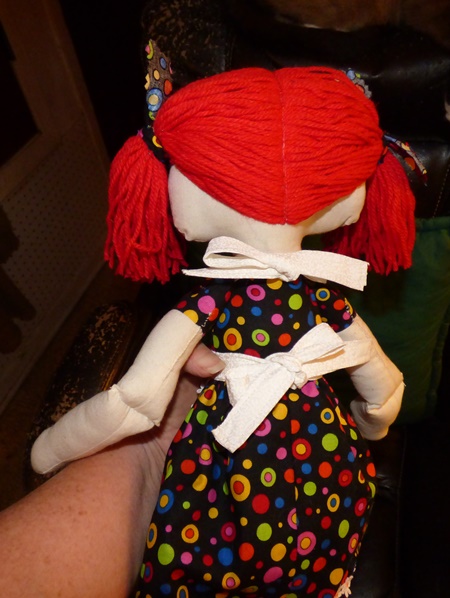
Make 3 small pleats at the top of the 4.5 inch square and sew to secure. Place the smaller square on top of the pleated area and sew to secure. Take the longer strip and center it over this area. Sew in place. Take the shorter strip and cut in half. Sew each half to the top of the smaller square. Tie apron to doll.

mrp 40

mrp 41

mrp 42

mrp 43

mra 1

mra 2

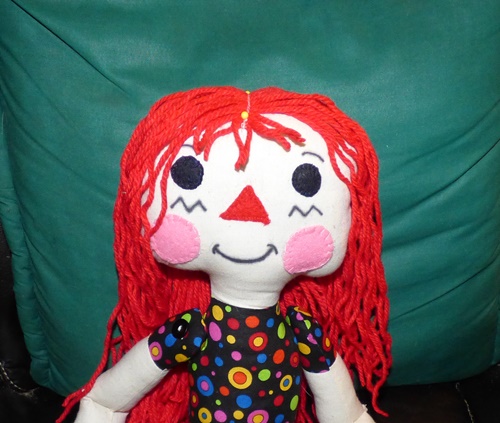
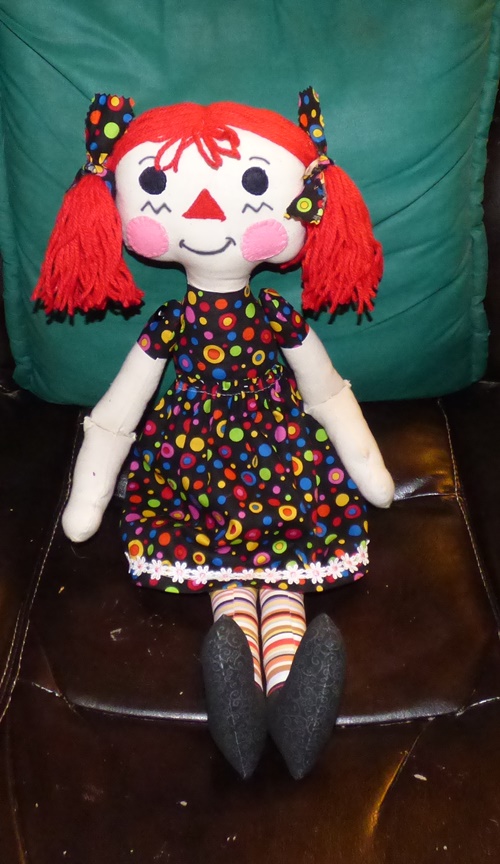
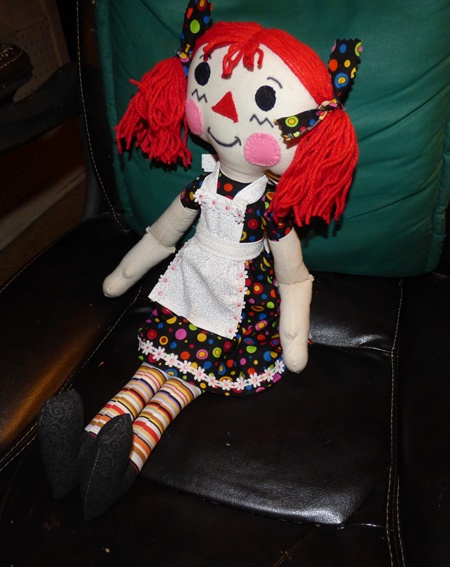
There you have it! You are finished with your Raggedy Ann Doll.
My Raggedy Ann Doll Tutorial (Part 1)

I’ve always wanted to make a Raggedy Ann Doll of a sort. But buying a pattern to make such a common doll seemed like a waste of money. So I decided to draw my own and go from there.

mra 2

I took lots of pictures during the process so that I could offer this free pattern to any one who also wanted to make a Raggedy Ann Doll. I will try to be as explicit as possible with the instructions.
Let’s start with a Materials List.

1/4 yard muslin
1/4 yard print fabric
1/4 yard striped fabric
1/4 yard white fabric
1/4 yard black fabric
small amounts of pink, black and red felt
Thread to match felt colors
1 50g skein of red yarn
small amount of trim
6 inch dowel with one end sharpened
5-7 inch doll needle
two small buttons that the eye of the doll needle will fit thru
hand sewing needles
sewing machine (set your stitch length to teeny tiny-I set mine to “1”)
cotton thread
upholstery thread
scissors
pinking shears (optional)
hemostats
polyester fiberfill (stuffing)
printer for printing pattern
pencil
colored pencil (color will depend on your fabric colors)
straight pins

mrp 3

The pattern itself is 2 pages. You will need to right click on each photo and save it to your pictures folder. Then from there you can enlarge it to 8.5 x 11 and print it out. You will need to print at least two copies of the first page.

mrp 1

mrp 3.0

The drawn lines are stitching lines. You will cut out the pieces and trace them onto doubled fabric. You will stitch the fabric pieces before you cut them out. I used pinking shears and cut close to the stitching line.

First sew the long sides of the muslin fat quarter and the print fat quarter together, right sides together, using 1/4 inch seam. Iron the seam down. Then sew the long sides of the striped fat quarter and the black fat quarter together. Iron the seam down.

mrp 4

Make sure your striped fabric is horizontal to the black fabric.

mrp 5

Cut your pattern pieces out. Tape upper and lower body pieces together. Fold sewn fat quarters lengthwise, making sure seam lines match up and place pattern pieces on fabric as indicated in the photos. Trace around pattern pieces with pencils.

mrp 6

mrp 7

mrp 8

mrp 9

mrp 10

Trim the top and bottom the fabric so that you are not having a large amount of fabric to deal with. Then stitch just inside the lines leaving the area open as indicated on the pattern. Cut apart with pinking shears, cutting close to, but not thru the stitched lines. REMEMBER to use a very small stitch length.

mrp 11

Turn pieces right sides out.

mrp 12

mrp 13

Take your second copy of page 1 of the pattern and cut out the eyes, nose and cheeks. Place them on the doll’s face in a pleasing manner to you. Trace around them. Now place them on doubled felt and cut them out…eyes on black felt, nose on red felt, cheeks on pink felt. Set them aside until later.

mrp 14

mrp 16

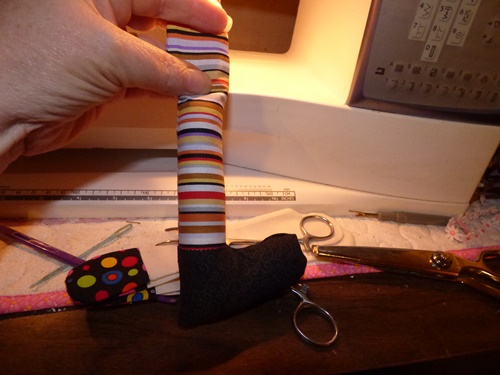
Take the leg pattern piece and place on the lengthwise folded black/striped fabric (right sides together) and trace around it two times. Pin the fabric, matching the seams. Sew just inside the traced line. Cut out with pinking shears and turn right side out.

mrp 15

mrp 17

mrp 18

Okay I’m getting a little tired here. So I will continue this tomorrow (or the next day). See you back here later.

Mouse and Pumpkins

I have been on a sewing spree lately. It’s usually knitting, crocheting and sewing or all three at once. Anyway, I digress.

I bought these patterns awhile back and I’m just now getting around to making them. I love making dolls and such.

mp 3

mp 4

I decided to do the mouse and pumpkins in batiks and pinks instead of grungy fabrics. I do like the way they turned out. I also used eye shadow in the creases of the pumpkins and around the stems.

mp 1

mp 2mp 5

Saying “No” To Others

bg 2

cmd aFP1b

All of us at one time or another has been inundated with requests to make this or that; something that would infringe on our time, with no payment offered or, if so, a minimal amount that would not even cover supplies.

First of all, I am crafty. I sew, knit, crochet, make cards, dabble in polymer clay, photograph, etc. I love doing different things. But over the years, I have learned that most folks are “gimmie pigs”. “Make me this or make me that” with no consideration as to how long it took or the cost involved. And the worst part, finding out that they failed to take care of it, even when you provided them with hand written care instructions.

So I have learned to say, “No”. Yes there are ways to say “No” very politely and ways to say “No” rudely. I fall somewhere in between. For the most part, if I know you, I will say “No” somewhat politely…”No, I am not able to do that.” No further explanation is given. If you press the point, you will get the annoyed stare and a repeat of the former statement. If you continue, you get to see a side of me that tends to scare the crap out of people.

My youngest has told me in the past that I am rude to people. This was in reference to door to door sales people trying to sell me AT&T Uverse, something I neither needed or wanted. Yes I was blunt when they asked if they could tell me about it, but they got the point and left. I consider door to door sales people rude and obnoxious. They knock on your door and demand your time, then expect to separate you from your money. They usually realize quickly they have knocked on the wrong door.

Anyway, over the years I’ve learned that I do not owe anyone a handmade item. I also do not owe anyone an explanation as to why I am saying “No”. “No” is a complete sentence.

Just to clarify things a bit, I do make things for people, but they are things I want to make, when I want to make them and they are usually gifts for Christmas.

HP 11 a

Goony Bird 001a

CF5a

My Boxy Bag Photo Journey

For my friends who have gone to the Craftsy website and downloaded the pattern No Guts Boxy Bag (free), I am posting my photos of how I made the bag. I followed the directions exactly and they are well written. There are also plenty of photos with the pattern to help you complete your bag.

These are just for extra reference. There are quite a few. I have not included any instructions for cutting fabric as that comes with the pattern itself.

1

2

3

4

5

bbp 7

6

7

8

9

10

11

12

bbp  27

13

14

bbp 30

Boxy Bag

Found a free pattern on Craftsy for a bag to carry your shampoo, conditioner, razors, soap, deodorant, undies, etc. in.

The instructions seemed a little confusing, but as one person stated, follow them exactly and your bag will turn out fine.

I cut out fabric for four bags…thinking ahead for Christmas. Anyway, I made one bag. It was relatively easy and only took a couple or so hours to complete.

It measures approximately 7 inches long, 5 inches wide and 4 inches deep. Here are some pictures for you.

bb  1

bb 2

bb 3

bb 4

bb 5

Fat Bird Pin Cushion

Last evening, I got creative with my sewing machine. I was wanting to do something that wouldn’t take too long to get done. So I searched through my patterns and found this:

P 1a

I pulled out the instruction sheets and the tissue pattern. I read over the instructions and then counted the pattern pieces to make sure they were all there.

I decided to make the fat bird in the bottom left corner of the photo. I did do a few things differently while making the bird. I did NOT put facing fabric in the wings or tail feathers. I DID sew the bottom of the wings down to make a sort of pocket on the sides of the birds. I chose to do a different beak instead of the one the pattern called for. And I added a hat as each bird seemed to be lacking something decorative. The hats are yo yo’s in complimentary colors to the bird, with green satin 1/4 wide ribbon.

fb 1

fb 6

fb 5

After sewing the birds together, I stuffed each with polyester fiberfill. I am surprised that they sit nicely. But if you have a problem with that, you can always glue on a small piece of wood that will stabilize the bird.