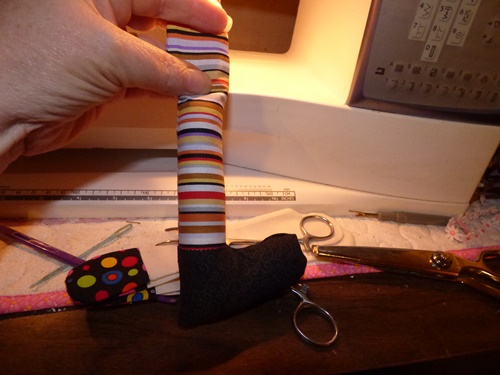
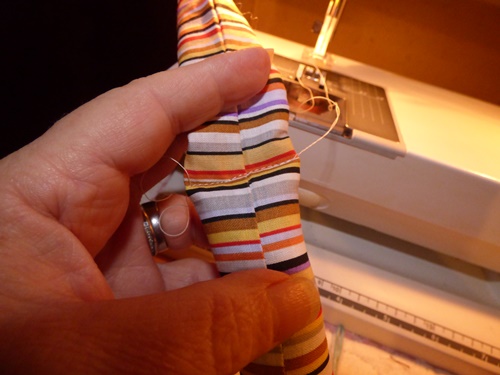
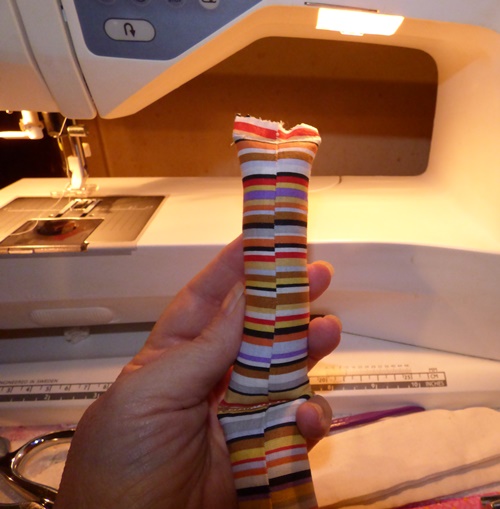
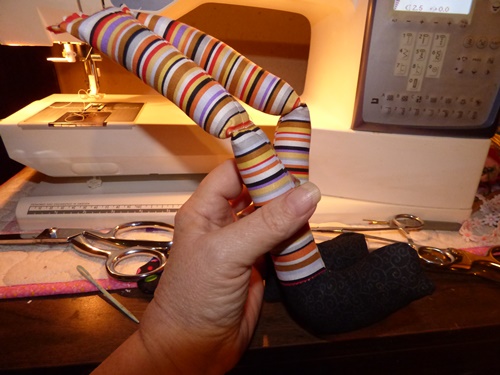
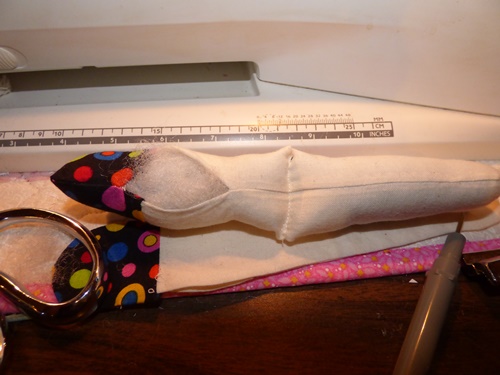
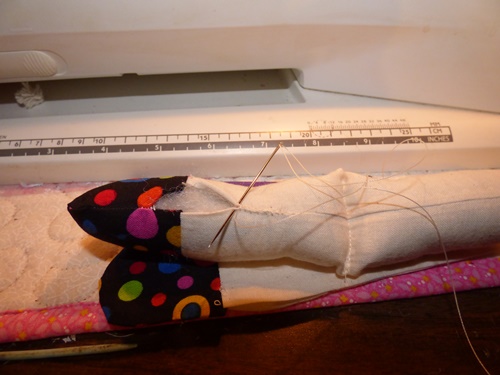
Now it is time to begin stuffing our doll parts. Open up your bag of fiberfill and grab you hemostats. Let’s start with the legs. Fill up the leg about half way. This is where your “knee” joint is going to be. Align your seams and sew across this area. Make sure your knee joint bends perpendicular to your foot….wouldn’t want a wonky bend in the leg.
Fill up the rest of the leg leaving about 1/4 inch at the top. Sew the top closed using a 1/4 inch seam.
Repeat for the second leg. Then set them aside.
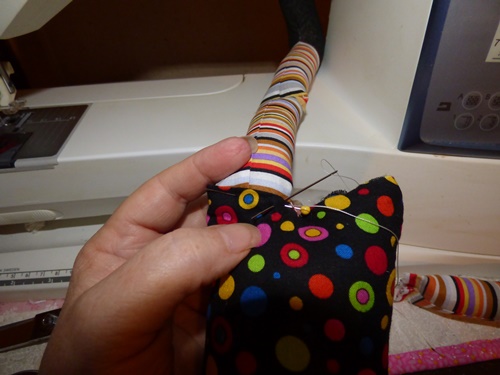
Pick up one of the arms and begin stuffing it firmly, making sure the “thumb” is filled out. Fill up about half way or where you think the “elbow” join should be. Align the seams and sew across this area. Fill up the rest of the arm. Hand sew the opening closed with upholstery thread and microscopic stitches. Repeat for second arm.
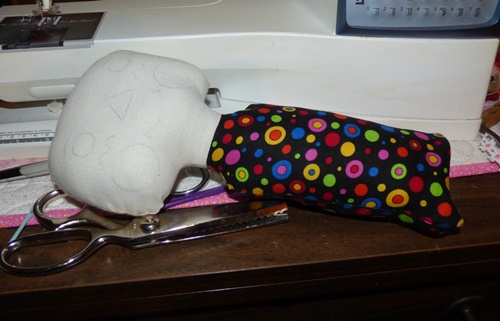
Set the arms aside. Start stuffing the head of the doll. Try to get it firmly stuffed. Insert the dowel, pointed end towards top of head and work it in about 2 inches. Fill around the dowel firmly. This will keep the head from falling over.
Continue stuffing the body of the doll. Make sure you are stuffing the doll firmly. Fold the bottom of the doll in about 1/4 inch. With upholstery thread sew a few stitches in the center crotch area. Do not cut the thread. Make sure that your doll’s body is not twisted. You don’t want the side seams out of kilter to the rest of the doll.
Insert one leg into one of the openings and pin in place. Make sure your foot is pointed in the right direction. You don’t want the face one way and the feet another. That would look just weird.
Sew in place, front and back, with microscopic stitches.
Repeat for second leg.
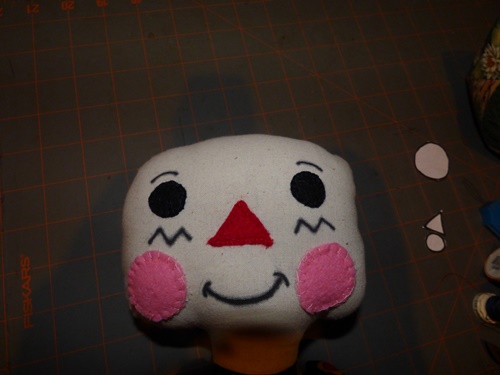
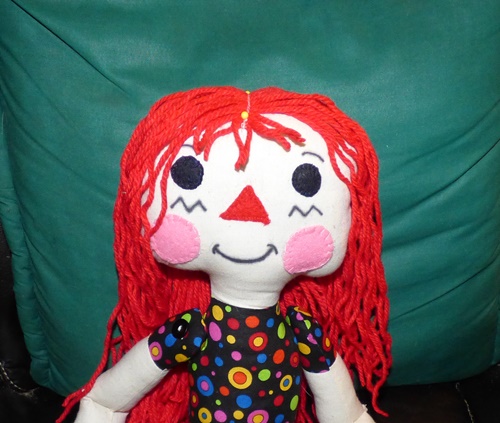
Now for the face. Using matching thread, hand sew your eyes, nose and cheeks to the doll. I used a blanket stitch, but you can use whatever stitch you prefer. Then using a permanent marker, add eyebrows, zigzags and mouth.
Next up we are going to attach the arms. Take your long doll needle and thread with a double strand of upholstery thread. This should be really, really long. You want to be able to pass the needle through the doll several times.
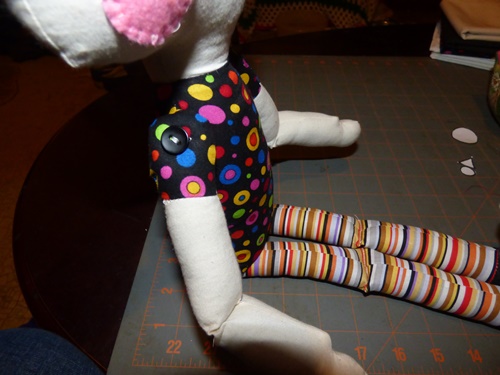
Beginning at one shoulder, pass the needle through to the other shoulder. Check to see if it is even before you pull it completely through. Pass it through one of the doll’s arms, making sure the “thumb” is pointing up. Now pass the needle through a button. Go back through the other hole of the button, through the arm and through the body and exit where the second arm should be. Attach the second arm and button, making sure the two arms look even to you from the front. If they do, pass the needle through the arms and body 1 or 2 more times and secure, making sure you hide your knots. You want this to be snug/tight. Sometimes this is a little difficult, but with patience and perseverance you can do this.
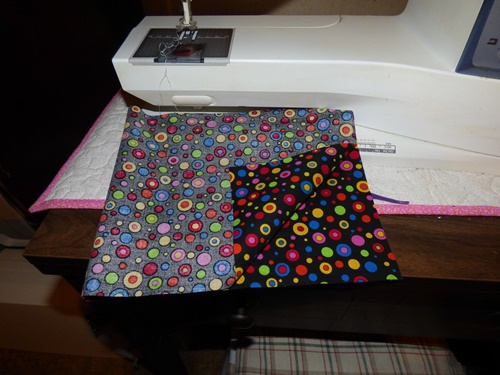
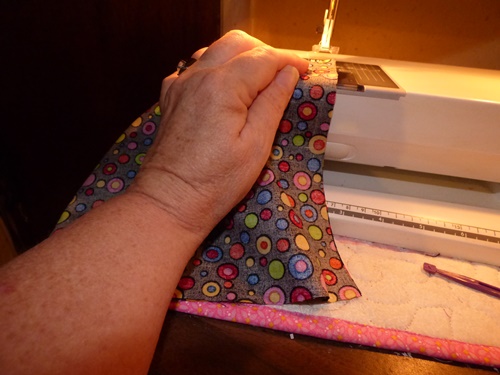
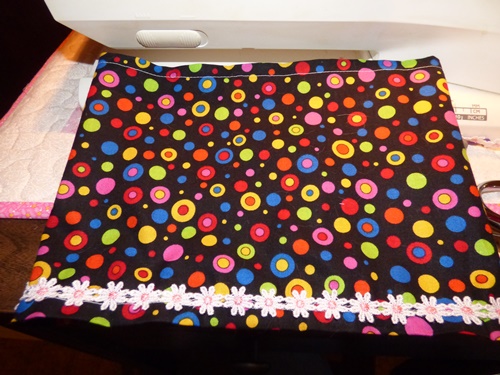
Skirt time! (no, not hair time..that comes later). Take your leftover piece of print fabric. Cut a 1 inch wide strip from the long side. This will be the ties for the hair. Set it aside. Measure and trim your larger piece of fabric. It should measure 8 inches x 20 inches. With right sides together, sew the short sides with 1/4 inch seam, creating a tube. Iron this seam open. Fold over the top and bottoms of the tube about 1/4 inch and iron or finger press. Sew these hems. Add a trim to the bottom of the skirt and sew it on beginning and ending at the back seam.
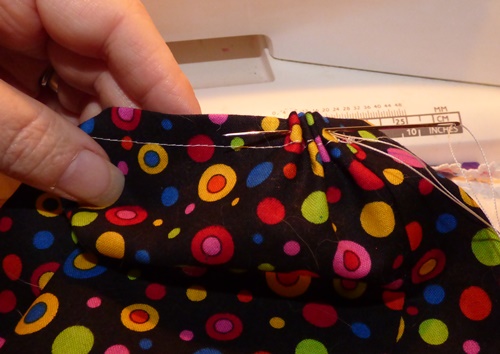
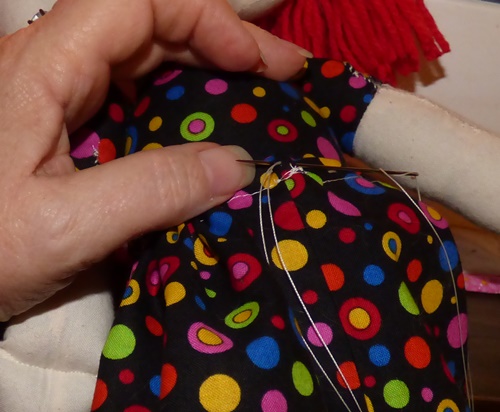
With upholstery thread, do a running stitch at the top of the skirt. Put the skirt on the doll and gather the skirt. Make sure the gathers are evenly spaced. Sew the skit in place.
Now for the hair. You will need a piece of cardboard that is about 11 inches wide. Begin wrapping the yarn around this cardboard, trying to lay the yarn strands next to each other and not so much on top of each other. This does not have to be exact.
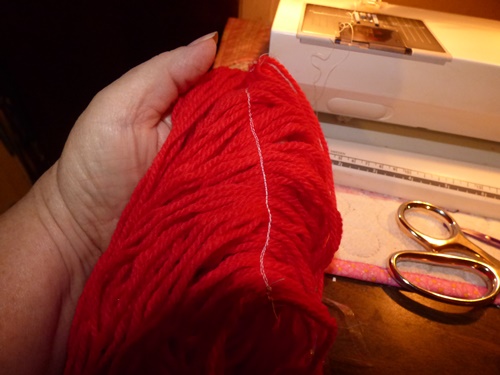
Once you have most of the yarn wrapped on the card board, apply some clear packing tape across it. Press down on the tape several times so that each strand of yarn is stuck to the tape. Carefully remove the yarn from the cardboard. Sew, lengthwise down the center of this tape, using matching thread. (remove tape after) I used white for teaching purposes and later colored it in. Cut other end. The ends will not be even once it is in place, but you are going to trim it later.
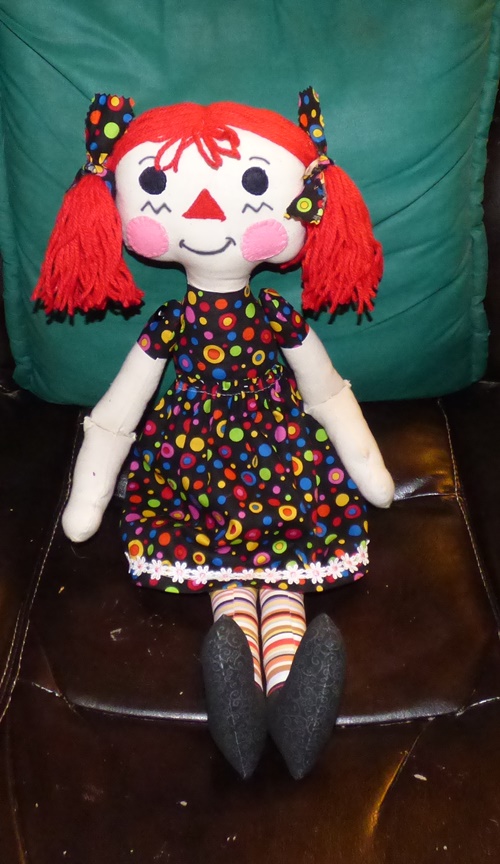
Pin in place to doll’s head. Hand sew in place. Cut a few strands in the front for bangs. Bring each side up about to doll’s eye level and secure with a rubber band. Sew a few stitches to secure the pigtail remains where you want it. Repeat for other side.
Take the 1 inch wide strip you cut earlier and cut it in half. Tie one to each pigtail. You tie a knot in each “ribbon”, not a bow. Trim to desired length. Then trim the “hair” to just above her shoulders.
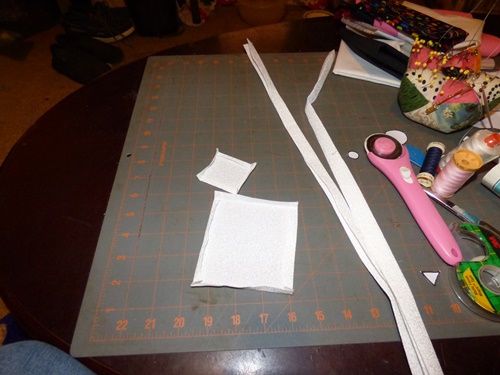
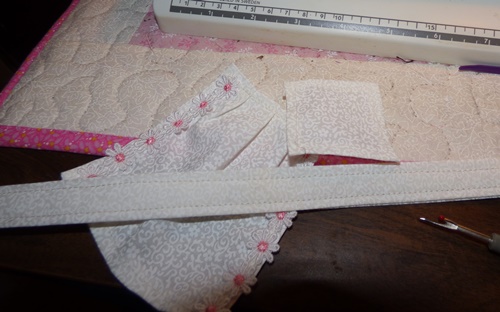
Now for the apron. From the white fat quarter, cut 2 lengthwise strips 2.5 inches wide. From one end of one of those strips cut a 2.5 inch square. Finger press or iron 1/4 inch hem all around. Fold your strips in half lengthwise and iron. Then fold outer edges to the center and iron. When done, your strip will measure about 1/2 inch wide.
Now cut a 4.5 inch square from the remainder of the fat quarter. Finger press or iron 1/4 inch hem all around.
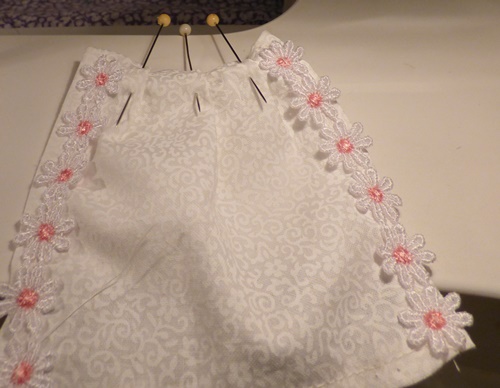
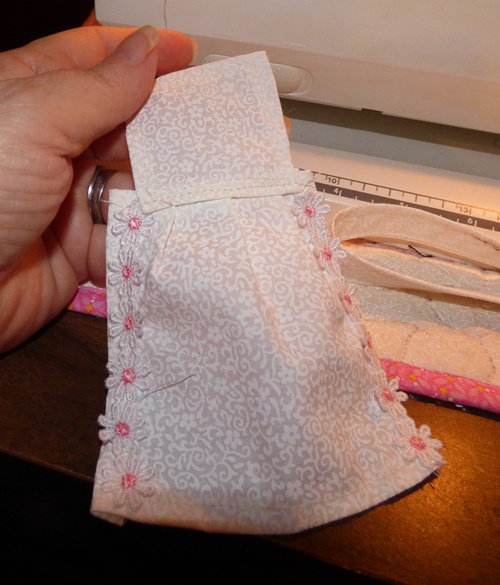
Sew the hems down on all four sides of the 4.5 inch square and the 2.5 inch square. Sew the strips up one side and down the other. Add trim to the square, as pictured, if you desire.
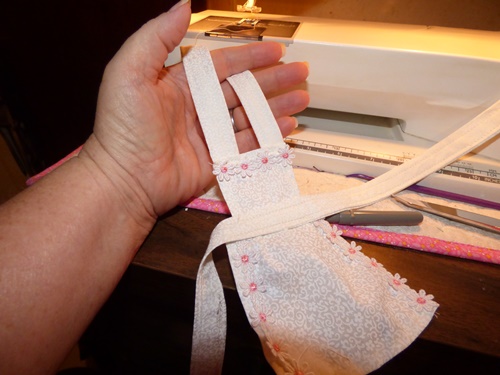
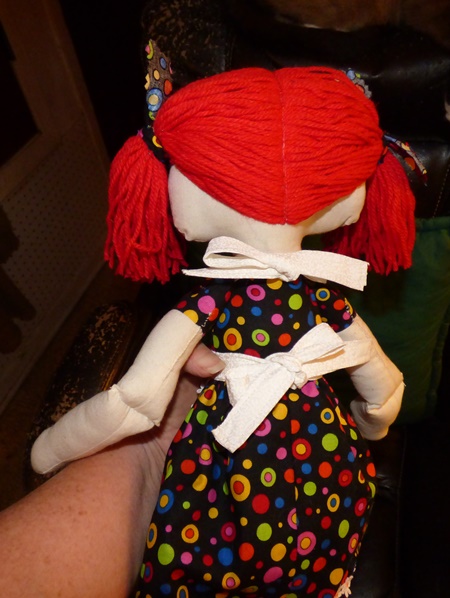
Make 3 small pleats at the top of the 4.5 inch square and sew to secure. Place the smaller square on top of the pleated area and sew to secure. Take the longer strip and center it over this area. Sew in place. Take the shorter strip and cut in half. Sew each half to the top of the smaller square. Tie apron to doll.
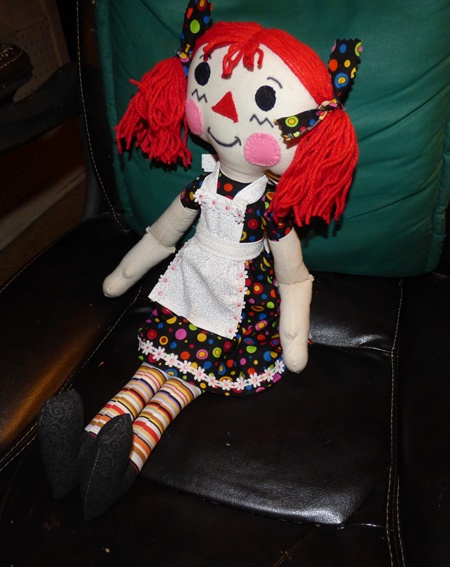
There you have it! You are finished with your Raggedy Ann Doll.
